Bike Setup and Comfort Tips for Long Rides
How to adjust your seat height, handlebar position, and gear ratios so you're comfortable after hours in the saddle. Plus what padding actually helps.

Getting Comfortable Matters More Than You Think
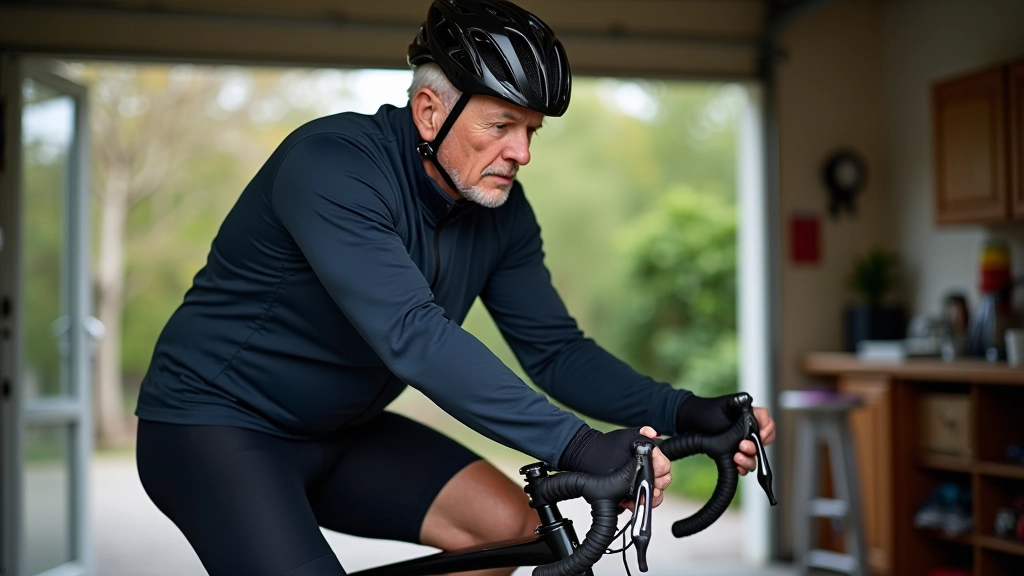
A bike that fits you properly makes the difference between enjoying a ride and dreading it. We've all heard stories — someone buys a nice bike, takes it out for a long ride, and spends the next week nursing sore knees or a numb backside. That's not how it has to go. The good news? Most comfort issues come down to a few straightforward adjustments you can make yourself, right in your driveway. You don't need special tools or technical knowledge. Just patience and a willingness to dial things in.
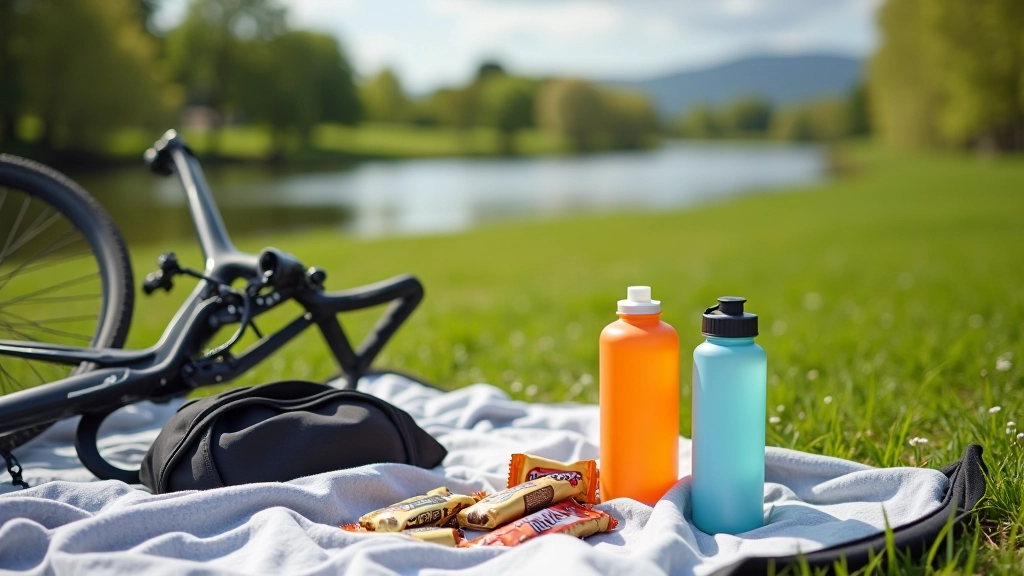
On the Suir Blueway, you're looking at rides that range from an easy hour to a full day of pedaling. That means your bike needs to be set up so you can actually enjoy those miles, not just survive them. This guide walks you through the key adjustments that matter: seat height, handlebar reach, and saddle choice. We'll also cover what padding actually works and what's just marketing noise.
Seat Height: The Foundation of Comfort
Seat height is the single most important adjustment. Get this wrong and everything else feels off. Too high and you'll overextend your legs, which strains your knees and lower back. Too low and you're cramping your legs on every pedal stroke, wasting energy and causing pain in your hips.
The Heel Method (Quick and Effective)
Sit on the saddle with your pedal at its lowest point. Place your heel on the pedal. Your leg should be almost straight — not locked out, but nearly extended. When you move your foot to the ball of your foot (where it normally goes while riding), you'll have a slight bend in your knee. That's the sweet spot.
If your bike has quick-adjust seat posts, you can fine-tune this in minutes. Most riders need to adjust their seat up slightly from what feels natural at first — we tend to set seats too low because it feels safer.
Pro tip: Your seat height might need adjustment for different types of riding. Long, flat rides on the Blueway prefer a slightly higher seat than technical trails. Start with the heel method and then adjust up or down by half a centimeter at a time if something doesn't feel right after a few miles.

The Saddle Question: Comfort vs. Support
Here's where people get confused. A plush, thick saddle sounds comfortable, right? In reality, overstuffed saddles often cause more problems than they solve. After a couple of hours of riding, the padding compresses and starts putting pressure on exactly the areas that need relief.
Firm Support Saddles
These have less padding but better shape. Your sit bones (the bony parts of your pelvis) rest on the firm base, and the sides of the saddle slope away to reduce pressure on soft tissue. After you ride them for a few weeks, they actually feel better than soft saddles. There's usually a break-in period — don't judge on the first ride.
Cutout Saddles
A channel or cutout down the center relieves pressure on the sensitive area between your sit bones. These work great for some riders and feel weird for others. You won't know until you try. Many bike shops will let you test-ride different saddles.
Wide vs. Narrow
Wider isn't always more comfortable. Your sit bone width varies — roughly 100-130mm. Measure yours (yes, there are tools for this, or just use a method online) and match the saddle width. Too wide and you're creating chafing. Too narrow and you're not supported properly.
Real talk: Saddle comfort is deeply personal. What works for your friend might be torture for you. Budget about 200-300 kilometers before deciding a saddle isn't working. Your body needs time to adapt. If after that you're still in pain, try something else. Don't suffer through it.
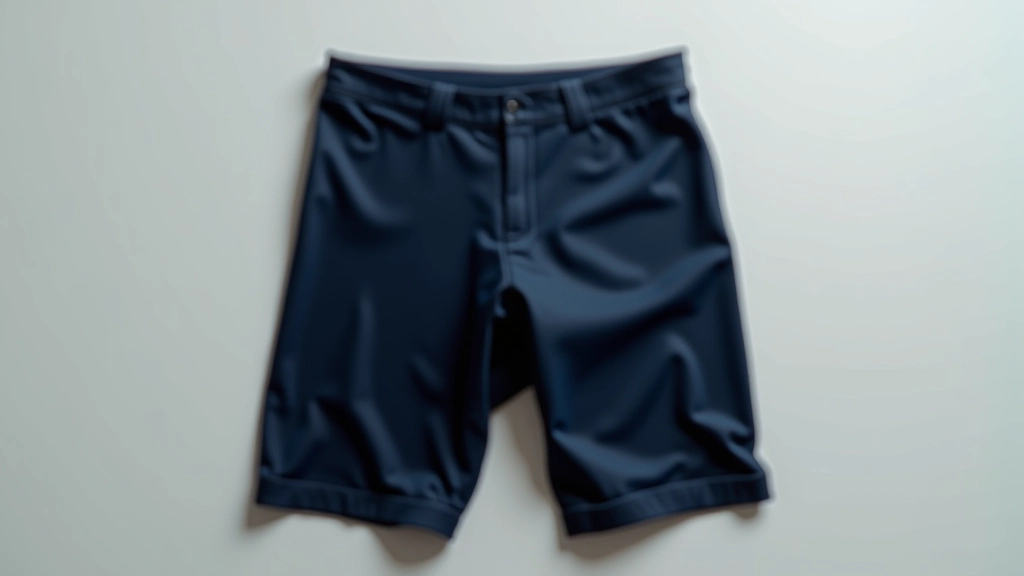
Padding: Shorts, Chamois, and Reality
Quality cycling shorts with good chamois padding make a real difference. The chamois is the padded insert that sits between you and the saddle. It's not just cushioning — it's shaped to support your sit bones and reduce friction.
Fit matters: Shorts should be snug enough that the chamois stays in place but not so tight you're cutting off circulation. If they're baggy, the padding shifts and creates hot spots.
Don't double-pad: One pair of quality shorts is better than cheap shorts under padded compression shorts. Layering padding just creates friction and pressure points.
Wash them: Chamois pads need care. Wash shorts inside-out in cool water and let them air-dry. Sun-drying kills the elasticity. Most last 200-300 rides before the padding starts breaking down.
Gearing: Pedal Speed Over Strength
On the Suir Blueway, you're mostly on flat ground with gentle inclines. This is where gearing gets important for comfort. You want to pedal at a comfortable cadence — the number of pedal rotations per minute — not fight against heavy resistance.
Most recreational riders feel comfortable at 80-100 RPM. That means your legs are moving steadily without straining. If you're pushing hard and only getting 50-60 RPM, your gearing is too heavy. Your knees will hate you after 20 kilometers. Shift down to a lower gear and spin faster. Your legs will be fresher and you'll actually go faster with less effort.
The flat terrain of the Blueway means you don't need extreme gearing. An 8-speed or 10-speed cassette is plenty. Don't overthink it. Just make sure you have low enough gears that you can pedal comfortably even if you get a bit tired toward the end of a ride.
Pre-Ride Comfort Checklist
Before you head out on a long ride, run through this quick checklist. It takes 5 minutes and can save you from a miserable day.
Seat height: Heel method — leg almost straight when pedal is at bottom.
Handlebar reach: Shoulders relaxed, back at 45 degrees, can see the path ahead.
Saddle angle: Should be level or very slightly nose-down. Not tilted up — that creates pressure.
Shorts: Good chamois, snug fit, nothing bunched.
Test gearing: Shift through all gears — make sure you can get into a low enough gear to spin comfortably.

Important Note
This article provides educational information about bike setup and comfort. Everyone's body is different, and what works for one rider might not work for another. If you experience persistent pain while cycling, consult a healthcare provider or visit a professional bike fitting specialist. They can assess your individual needs and make adjustments based on your specific anatomy and riding style.
Keep Reading